Alright, listen up, pool enthusiasts! If you’re into the game, you probably know that a solid pool cue is your best friend on the table. But what happens when your cue tip starts to wear out or gets damaged? Don’t panic! Welcome to the ultimate guide on mastering the art of repairing pool cue tips. Whether you’re a casual player or a pro, this guide has got your back. Let’s dive in and learn how to keep your cue in tip-top shape.
Repairing pool cue tips might sound intimidating at first, but trust me, it’s not rocket science. With the right tools, techniques, and a bit of patience, you can handle this task like a pro. From understanding the anatomy of a pool cue to troubleshooting common issues, we’ve got everything covered. So, grab your favorite drink, and let’s get started!
Now, before we jump into the nitty-gritty details, let’s talk about why maintaining your cue tip is so important. A well-maintained tip can significantly improve your game, giving you better control and accuracy. Who doesn’t want that, right? Whether you’re playing for fun or competing in tournaments, a reliable cue is key to success. Ready to learn more? Let’s go!
Understanding the Basics of Pool Cue Tips
First things first, let’s break down what a pool cue tip actually is. The tip is the small piece of leather or synthetic material attached to the end of your cue. It plays a crucial role in how the cue interacts with the ball, affecting your shots’ accuracy and spin. Think of it as the heart of your cue—without it, you’re just swinging a stick.
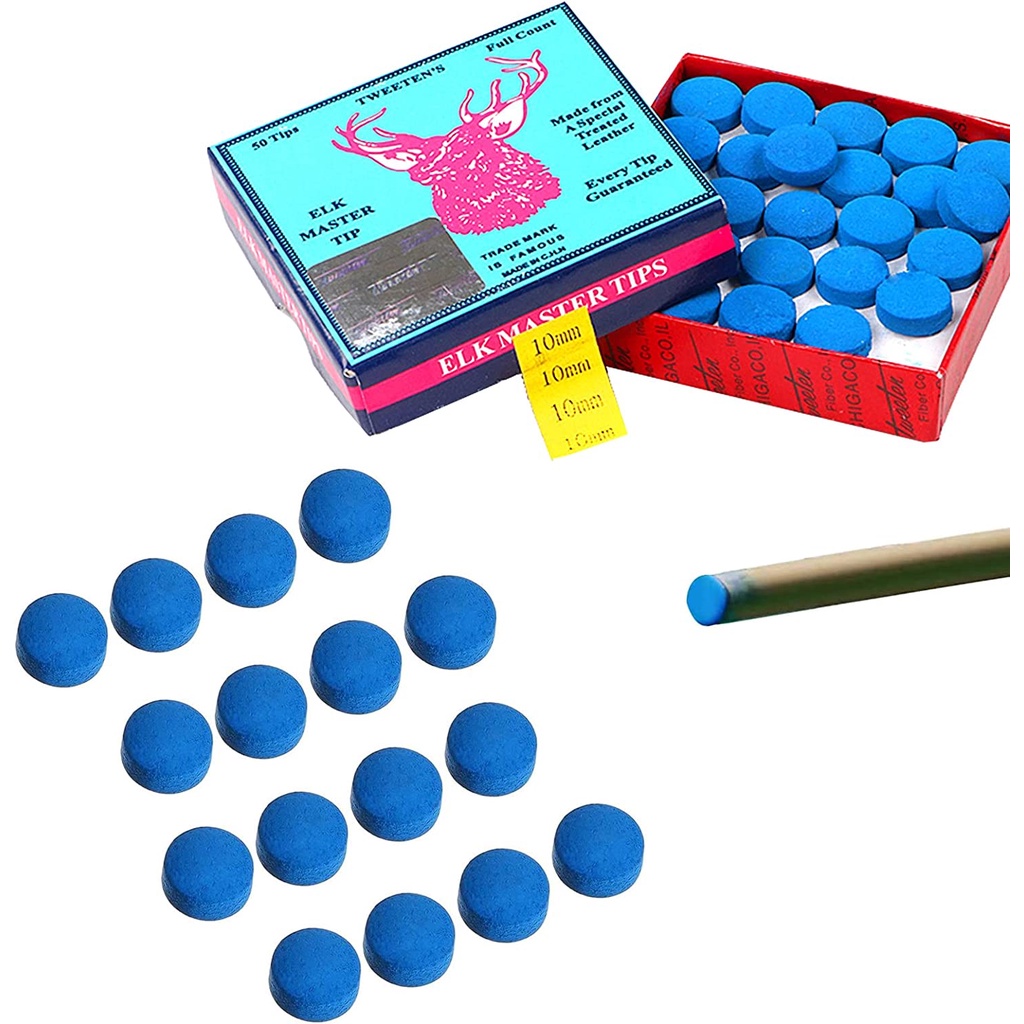
There are different types of tips available, each with its own characteristics. Leather tips are the most common, offering a good balance of control and durability. Synthetic tips, on the other hand, are more resistant to moisture but might not provide the same level of feel. Choosing the right tip depends on your playing style and preferences.
Why Pool Cue Tips Deteriorate
Over time, your cue tip will naturally wear down due to regular use. Factors like improper maintenance, frequent play, and environmental conditions can accelerate this process. Signs of a deteriorating tip include flattening, cracking, or chipping. Ignoring these signs can lead to inconsistent shots and frustration during gameplay.
Here’s a quick list of common issues you might encounter:
- Flattened tip causing poor ball contact
- Cracked or chipped tip affecting shot accuracy
- Moisture damage leading to softening or deformation
Tools You’ll Need for Cue Tip Repair
Before you start tinkering with your cue, make sure you have the right tools. Having the proper equipment will make the repair process smoother and more effective. Here’s a list of essentials you’ll need:
- Cue tip replacement kit (includes tips, glue, and shapers)
- Tip scissors or a sharp knife for trimming
- Sandpaper (various grits for shaping)
- A file or tip shaping tool
- Cue cleaner and conditioner
Investing in quality tools is worth it, especially if you plan to do repairs regularly. Cheap, low-quality tools might save you money upfront but could end up damaging your cue in the long run. Remember, your cue is an investment, so treat it like one!
Step-by-Step Guide to Replacing a Pool Cue Tip
Replacing a worn-out tip might seem daunting, but with the right steps, it’s a straightforward process. Follow these instructions to ensure a successful replacement:
Step 1: Remove the Old Tip
Start by carefully removing the old tip. Use a sharp knife or tip scissors to cut around the edges of the tip. Be gentle to avoid damaging the ferrule. Once the tip is loose, gently pull it off. If it’s stuck, you can use a small amount of heat to loosen the glue.
Step 2: Clean the Ferrule
After removing the old tip, clean the ferrule thoroughly. Use a cue cleaner to remove any glue residue or dirt. A clean surface ensures better adhesion for the new tip. Let the ferrule dry completely before proceeding.
Step 3: Apply Glue and Attach the New Tip
Apply a small amount of glue to the ferrule and press the new tip firmly into place. Make sure the tip is centered and aligned properly. Allow the glue to dry according to the manufacturer’s instructions. This usually takes a few hours, so be patient.
Step 4: Shape and Finish the Tip
Once the glue is dry, it’s time to shape the tip. Use sandpaper or a tip shaping tool to smooth out the edges and create a rounded surface. Start with a coarse grit and gradually move to finer grits for a polished finish. Finally, condition the tip to enhance its durability and performance.
Tips for Maintaining Your Pool Cue
Prevention is key when it comes to cue maintenance. Here are some tips to help you keep your cue in great condition:
- Always store your cue in a cool, dry place to prevent moisture damage
- Use a cue case to protect it during transport
- Regularly clean the tip with a cue cleaner
- Avoid hitting the cue ball too hard, as this can cause premature wear
By following these simple tips, you can extend the lifespan of your cue and maintain optimal performance. Remember, a well-maintained cue is a happy cue!
Common Mistakes to Avoid
Even the best players make mistakes when it comes to cue maintenance. Here are some common pitfalls to watch out for:
- Using too much glue when attaching a new tip
- Not allowing enough drying time for the glue
- Over-sanding the tip, which can affect its shape and performance
- Ignoring signs of wear and delaying repairs
Avoiding these mistakes will save you time, money, and frustration in the long run. Practice makes perfect, so don’t be afraid to experiment and learn from your experiences.
Advanced Techniques for Cue Tip Customization
If you’re looking to take your cue maintenance to the next level, consider exploring advanced techniques. Customizing your cue tip can enhance your playing experience and add a personal touch to your equipment. Here are a few ideas:
Experiment with Different Tip Materials
Try out various tip materials to see which one suits your playing style best. Some players prefer softer tips for more spin, while others opt for harder tips for increased accuracy. Don’t be afraid to experiment until you find the perfect match.
Create Unique Tip Shapes
Use specialized shaping tools to create custom tip shapes. A well-shaped tip can improve your shot consistency and control. Just remember to maintain the integrity of the tip while experimenting with different designs.
Expert Advice and Recommendations
When it comes to cue maintenance, listening to the experts can make all the difference. Here are some insights from seasoned players and professionals:
- Invest in high-quality tips and tools for better results
- Practice proper technique to minimize wear and tear on your cue
- Seek advice from experienced players or cue repair specialists if needed
Remember, the more you know, the better equipped you’ll be to handle any cue-related issues. Knowledge is power, my friend!
Conclusion and Final Thoughts
And there you have it, folks! Mastering the art of repairing pool cue tips is all about understanding your equipment, using the right tools, and practicing proper maintenance techniques. By following the steps outlined in this guide, you’ll be well on your way to becoming a cue repair pro.
Now, here’s the deal: maintaining your cue is not just about improving your game; it’s about respecting your equipment and enhancing your overall experience. So, take the time to care for your cue, and it will reward you with better performance and longevity.
Before you go, I’d love to hear your thoughts. Have you tried any of these techniques? What are your go-to tips for cue maintenance? Drop a comment below and let’s keep the conversation going. And don’t forget to share this guide with your fellow pool enthusiasts!
Table of Contents
- Understanding the Basics of Pool Cue Tips
- Why Pool Cue Tips Deteriorate
- Tools You’ll Need for Cue Tip Repair
- Step-by-Step Guide to Replacing a Pool Cue Tip
- Tips for Maintaining Your Pool Cue
- Common Mistakes to Avoid
- Advanced Techniques for Cue Tip Customization
- Expert Advice and Recommendations
- Conclusion and Final Thoughts